

Custom streamdeck
Part 3: the first prototype
Updated:
Introduction
So it’s finally time to get stuck into some design work! In this article I describe the process of building a stream deck prototype from scratch, taking inspiration from custom mechanical keyboards.
Macro pad
After some browsing on mechboards - a UK based supplier of mechanical keyboards - I discovered the RoMac. The RoMac is a 12 key macro pad (a macro pad is a miniature keyboard with keys tailored for a particular workflow) made from only a handful of components - 2 PCBs, 12 ‘Cherry MX’ style switches, 12 diodes, some fasteners and an Arduino Pro Micro. It is sold as a kit which you assemble yourself using a soldering iron and screwdriver. I purchased a kit and the parts were with me within matter of days.
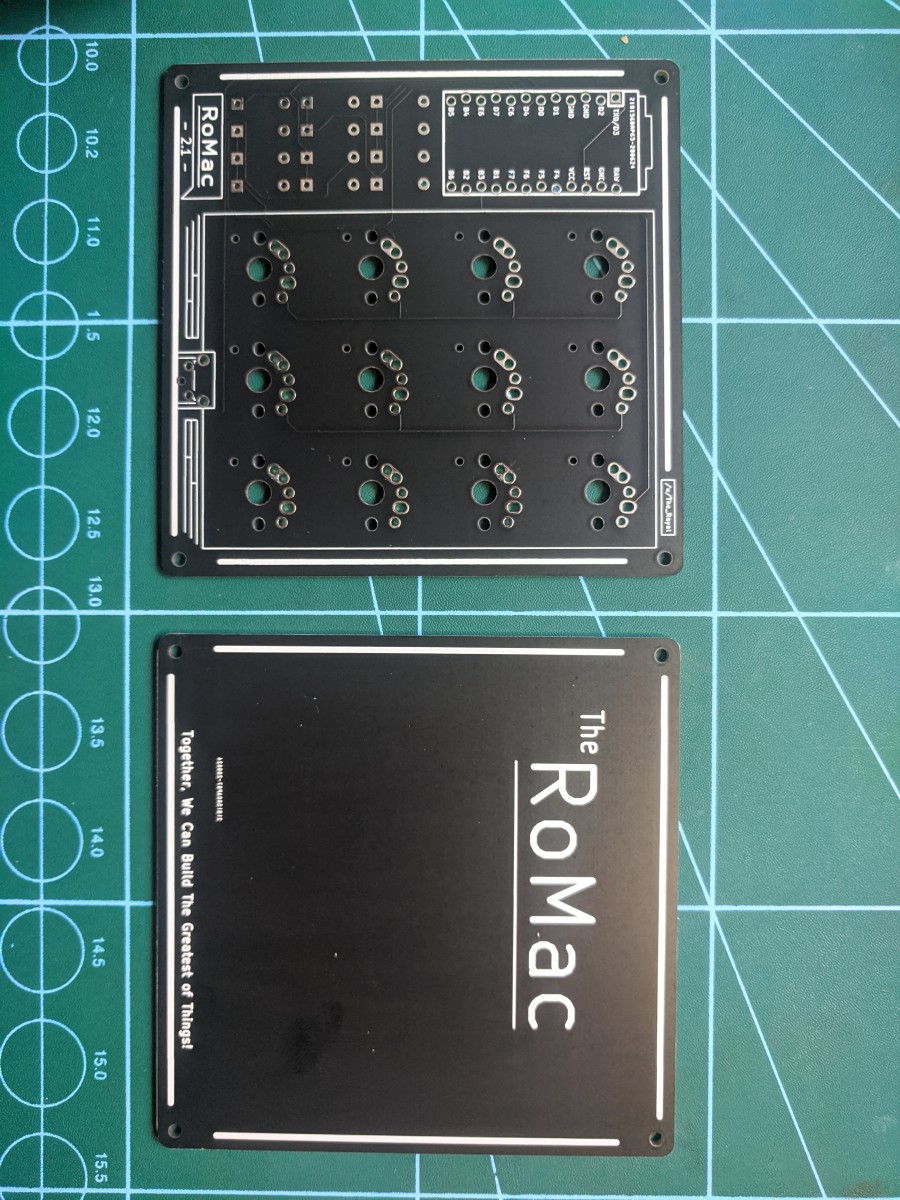
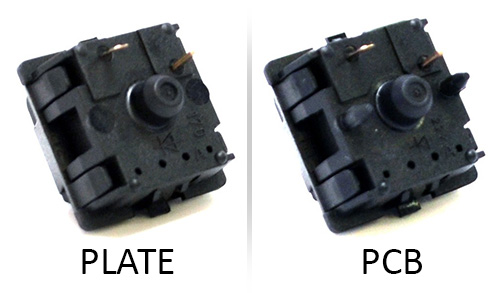
Unfortunately I quickly realised the switches I bought were not of the correct type. As the RoMac does not have a switch panel, the switches needed two additional mounting pegs to provide lateral support. The switches I bought were lacking these pegs. Nevertheless, I soldered the switches on - doing my best to keep them aligned - and the end result wasn’t too bad. Since this was only a prototype I wasn’t too concerned with the keys being a bit wobbly.
Key caps
I also bought some relegenderable key caps along with the RoMac. These are blank key caps with a transparent cover, allowing you to use your own custom cap designs printed on paper or vinyl. I imported a template from the store page into my preferred vector graphics software - Inkscape - and made a set of custom caps. As a veteran streamer, my friend James was instrumental in helping me decide which icons to use for each cap. To save time I used icons from The Noun Project, which is a great resource for anyone designing user interfaces.
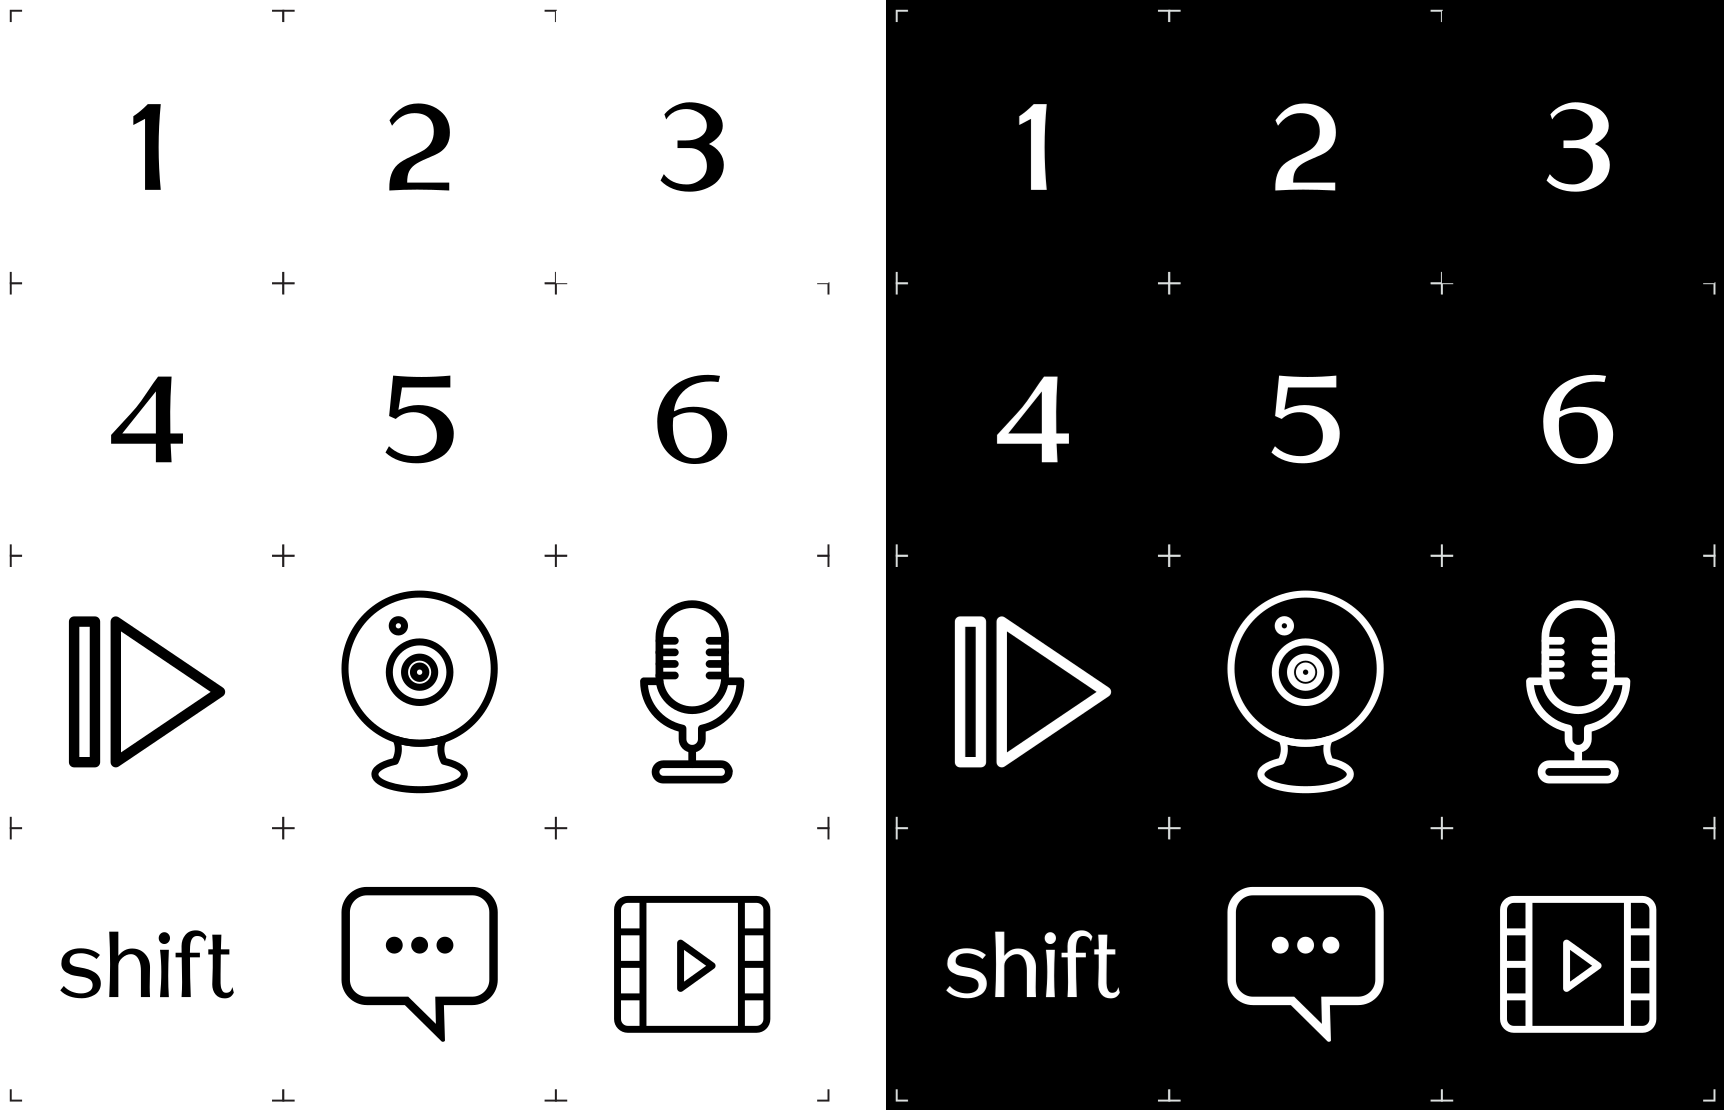
To complement the aesthetics of the RoMac, I chose a ‘dark mode’ colour scheme for the keys. I initially thought this would be expensive to print, but my local print-shop had no qualms printing the design on vinyl. I cut out each symbol using a scalpel and stuck them onto the key caps to complete the build.
Software
The Arduino Pro Micro sold with the RoMac had QMK based firmware pre-installed on it. QMK is an open source project maintained by the custom keyboard community, and has a few key components:
Firmware
This runs on the hardware and translates key presses into HID commands which are understood by the host computer. The firmware also ensures the hardware is recognised (or ‘enumerated’) as a keyboard when plugged into your computer’s USB port. You can define a custom switch matrix within the firmware, and it supports other peripherals such as LEDs and encoders.
Toolbox
This is installed on the host computer and allows you to upload new firmware to your custom keyboard.
Configurator
This is an online tool for mapping your keyboard layout. It is GUI based so no coding is necessary, and you can also specify modifier keys (e.g. Caps Lock). Once you are happy with your layout, the Configurator will build your firmware and download it to your computer, where it can then be uploaded to your keyboard via QMK Toolbox. You can also download prebuilt firmware for existing keyboard layouts using the Configurator’s built in library.
I used the Configurator to map the RoMac’s keys to function keys F13 - F24. I chose these keys as they are not found on most keyboards, which simplified hotkey assignment later on.
Initial tests
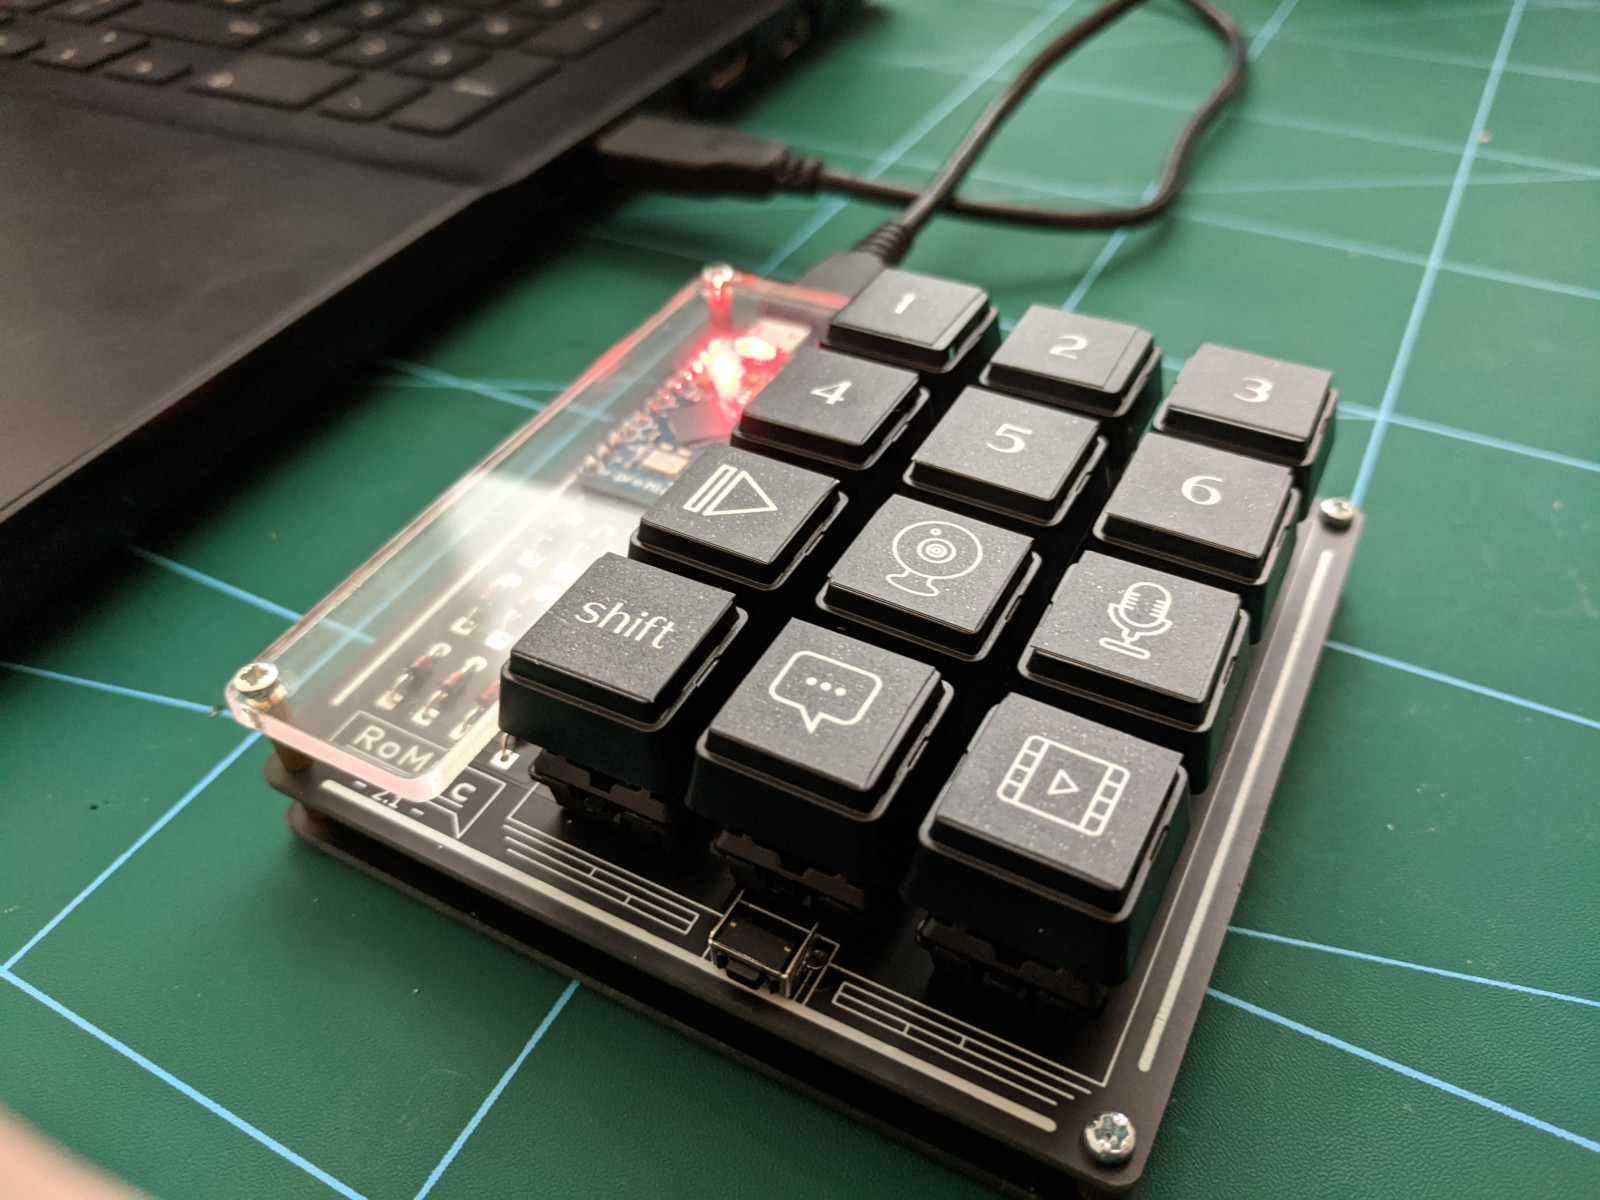
I posted the assembled RoMac to James, and he was able to start using it straight away thanks to it’s plug and play nature. James uses OBS for his streams, but as all streaming software shares the same core functionality, the RoMac could be used across all of them in a similar manner. Hotkeys can be used to trigger events in the software (mute, unmute, scene transitions etc), and it’s just a simple case of assigning these to keys on our RoMac (F13 - F24). And that’s pretty much it.
James used the RoMac in one of his streams, and he also put together a short video showing it in action. We received positive feedback from both of these, and James setup a focus group in his Discord channel to keep the conversation going. This should provide a useful sounding board for future ideas.
Next steps
While it made a great first prototype, the total cost of building the RoMac based prototype (~£70) puts it very close to the price of the mini Elgato, so it is unfeasible as a product. Therefore, we will now focus on scrutinising the prototype and deciding where the biggest cost savings can be made. This will likely involve designing our own PCB, and finding wholesale suppliers for each component of our stream deck.
Leave a Comment