Sparkpad diary 1
Updated:
Introduction
Although we’re still a few months away from celebrating our first birthday, the Sparkpad project has come a long way. After many weekend and evening hours spent toiling, we’ve learnt some valuable lessons which have kept us on the road to growth (as anyone familiar with running a business can tell you, building a product is often the easy part).
This diary is our way of sharing some of those lessons with you, and keeping you up to date with the latest Sparkpad developments.
Development
Since the first Sparkpads were shipped back in March, we have made a few revisions to the overall design.
Case
The case is one of the centrepieces of the Sparkpad, and has caused the majority of design headaches.
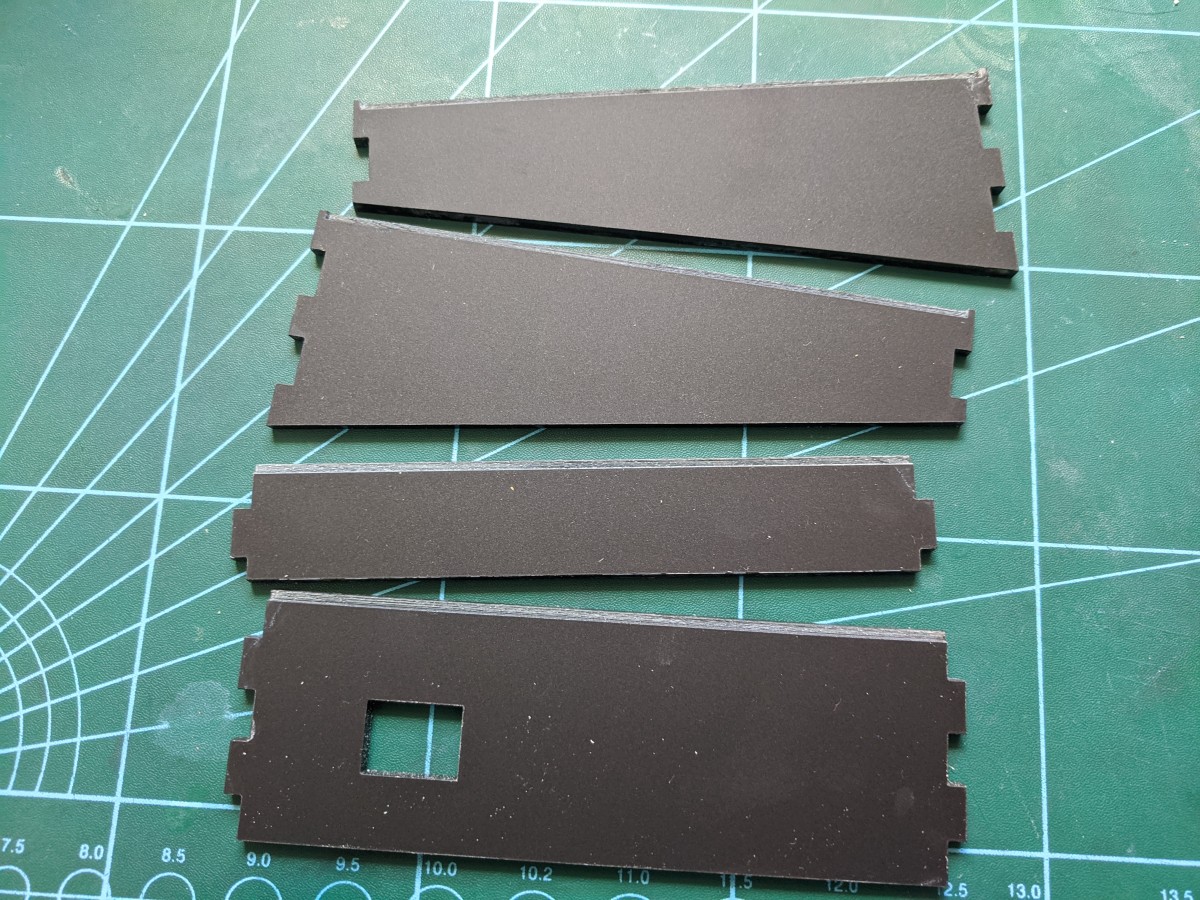
Our initial rationale for settling on a laser cut design was to allow us to cut and engrave the Sparkpad panels in one step. This saves us a lot of manufacturing time, and we don’t have to worry about misalignment. However, since a laser cutter can only give you flat panels, you inevitably need some way to turn those panels into a 3D shape. We opted for gluing the panels to keep the exterior of the Sparkpad as clean as possible by limiting the number of screws. We also engraved a slot along the top edges of each side panel for the top panel to sit in, thus hiding it’s unsightly edges and boosting the aesthetics.

While the design ticked many boxes, keeping the panels aligned while gluing them was very difficult without using a dedicated jig. In addition, since the glue was providing all the structural support, we needed to use superglue which - as a liquid - tended to go to places it wasn’t wanted such as the edges of the top panel (as you can see in the above photo). As we wanted to offer the Sparkpad as an un-assembled kit, we quickly realised we wouldn’t be able to ship a jig along with every single kit, so a revision was necessary. Thus we added fingers to the side panels to ease assembly, and provide additional structural support (which meant we could swap the superglue for glue gun, which is far less messy).

While prototyping this we ran up against another problem - tolerances. For the fingers to slot together nicely, the tolerances of the laser cutter need to be up to scratch, and we had to make several tiny adjustments to get the fit we needed. As we look to scale up the manufacture of Sparkpads, we may have to adapt the design to suit different laser cutters (and materials), so the battle is far from over on this front.
PCB
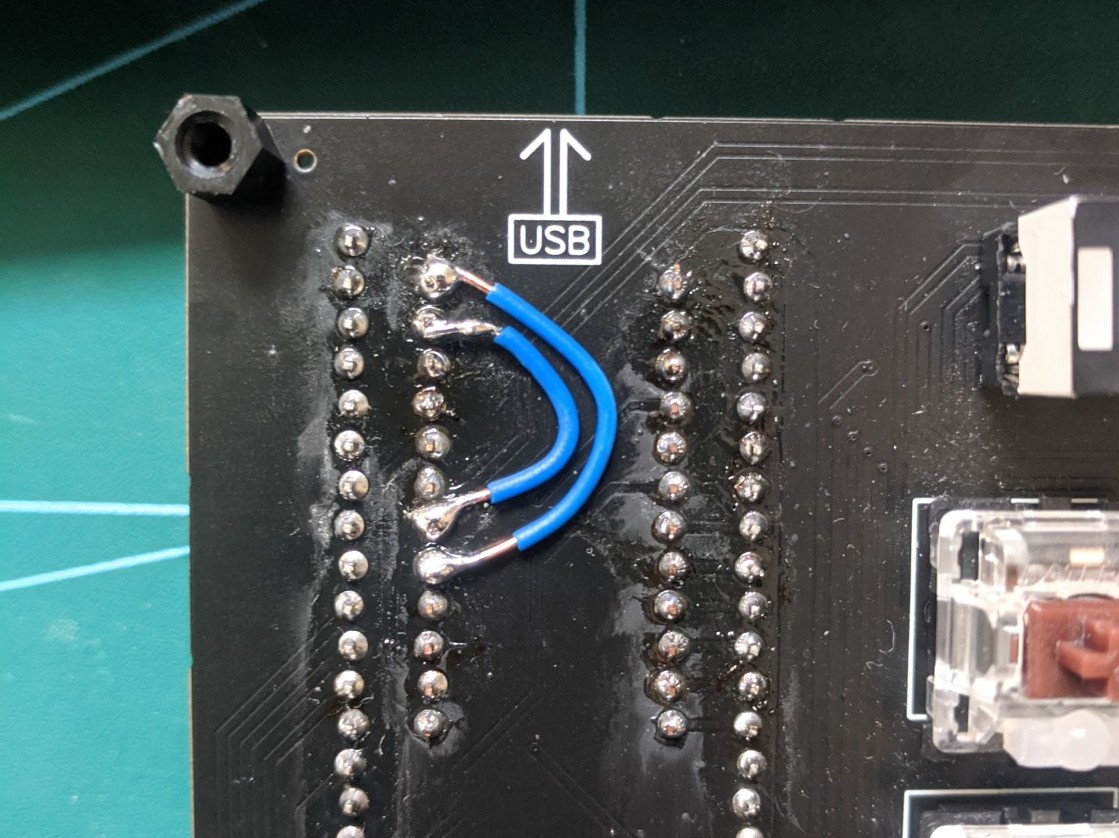
The PCB hasn’t changed too much since it’s original inception. The only revisions were necessitated by an update to the firmware, specifically the volume control knob driver. We made the swap to an interrupt based driver from a polling based one as new firmware features started taking up more and more of the Arduino’s processing time. However, the Arduino has a limited number of interrupt-capable pins, and on the original PCB the knob was tied to pins which weren’t interrupt-capable. This was a relatively simple design revision, and while we waited for the new PCB’s to arrive we were able to fix the issue using a wire mod.

We also added Schmitt triggers (in the form of a 74HC14 chip) to the volume control knob’s pins to improve noise resistance, and thus prevent the driver interrupts from triggering incorrectly.
Keys
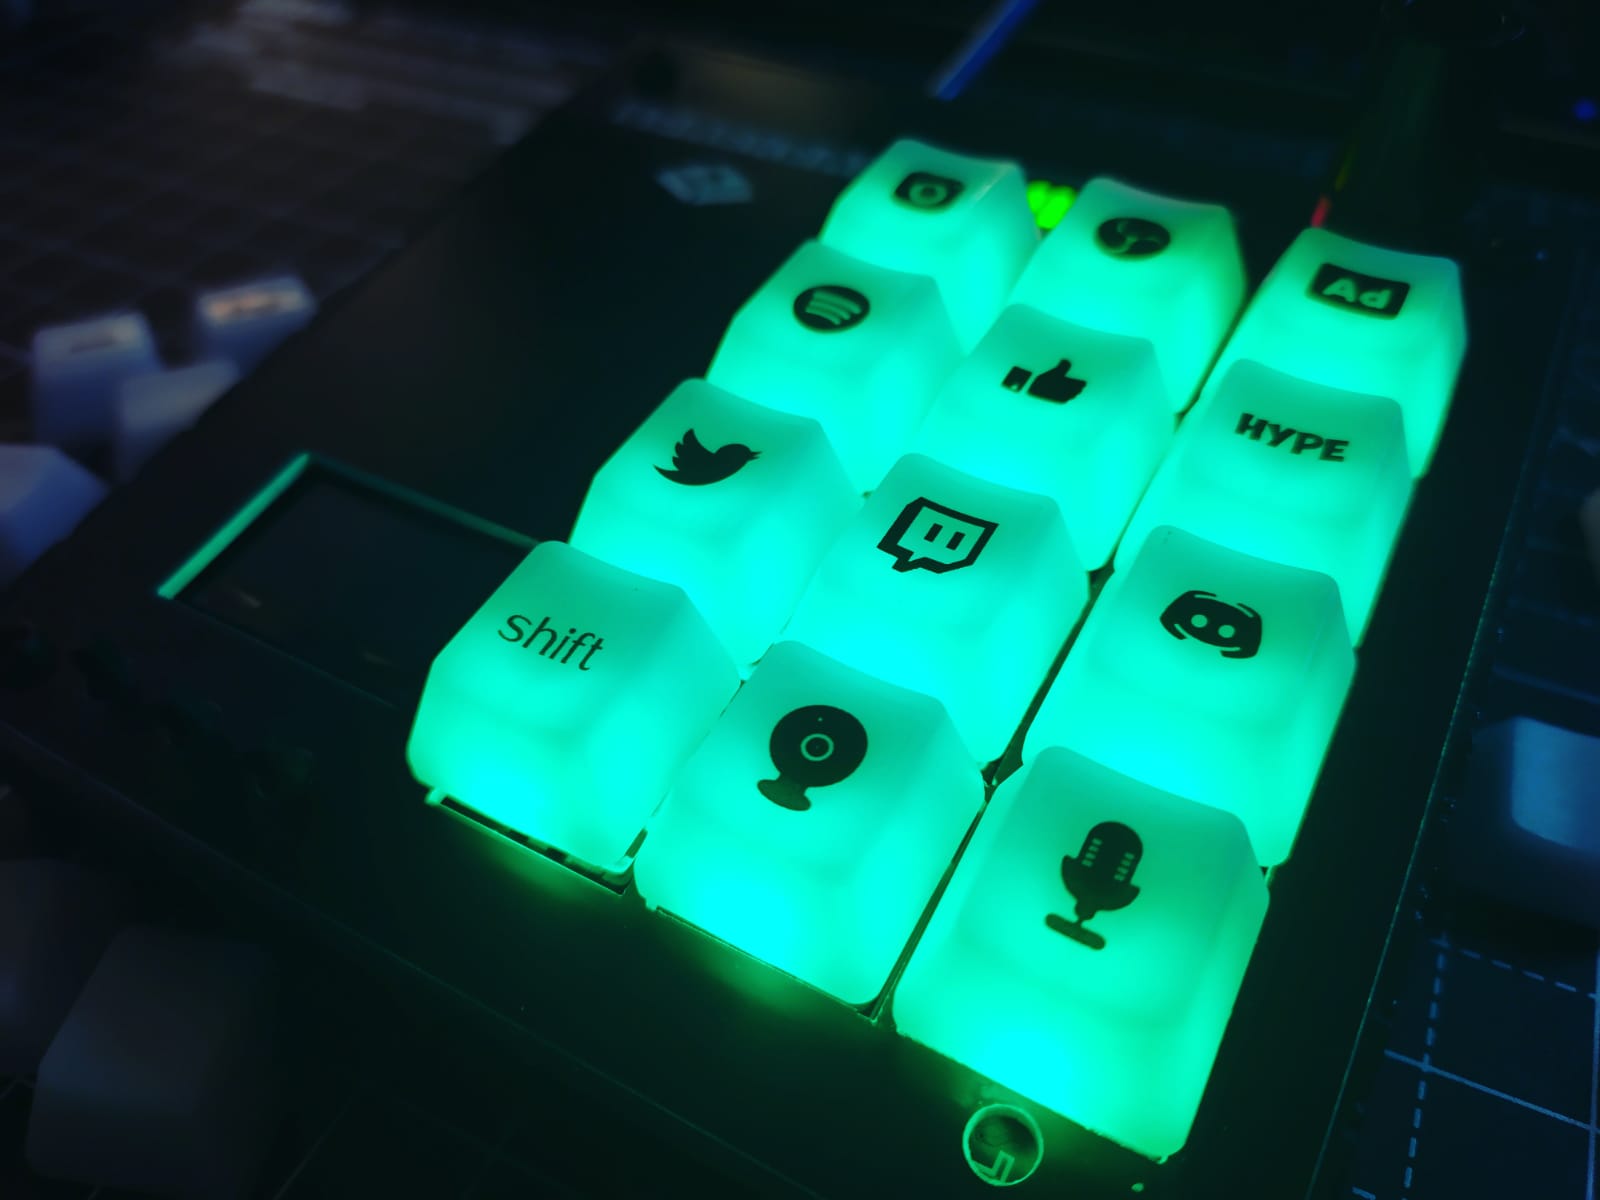
The selection of key cap stickers we now offer has been largely shaped by the Streaming community. The layout of our original Romac-based prototype was well received, so we didn’t alter too much in the development stages besides inverting the colours to work with the Sparkpad’s LEDs. We also added the Productivity and Mini packs to give people as many options as possible when customising their own Sparkpad layout.

Firmware
The Sparkpad’s firmware has evolved to accommodate key design updates.
We added support for platformio alongside the Arduino IDE, which involved adding a platformio.ini file to the Arduino library files. Platformio allows for a more comfortable coding experience thanks to it’s file explorer, and tools such as syntax checking and code-completion. The file explorer especially became invaluable as more and more of the Sparkpad’s code started migrating to header files.
New features have been added periodically off the back of suggestions posted in our Discord, with most ideas revolving around new lighting modes for the LED matrix. The biggest roadblock in implementing these new features has been the memory limitations of the Sparkpad’s Arduino Pro-Micro. Ultimately, we settled on swapping out the knob and switch matrix drivers for our own hard coded alternatives, which saved us just enough memory to implement the features we needed.
As new features get suggested all the time, we are very likely to run into a memory wall once again before too long, and getting over that wall will require some more lateral thinking.
Online
Website
We recently upgraded the shop section of our website to streamline the process of customising and ordering a Sparkpad. The help section has also been bolstered with a comprehensive setup guide for anyone looking to use, build or code their own Sparkpad. We are working on a series of video tutorials to complement this guide, the first of which - how to upload new or custom firmware - is now on Youtube.
Social media
The Discord community where Sparkpad first started gaining traction now has dedicated channels for Sparkpad related topics. We also have our Twitter and Instagram feeds for more general updates.
Streaming
We now stream regularly on our Twitch channel. At the moment we have 4 different types of stream: PCB Soldering, Case Assembly, Coding and Engraving design. We also seek out collaborations with fellow streamers, and recently we gave away a free customised Sparkpad as part of a charity stream.
Thanks for reading! We are aiming to post diary updates on a monthly basis. If you have any further questions, send us an emal at info@sparkpad.co.uk


Leave a Comment